
Beach photos can look bright on your camera and still lose detail after you crop, edit, or upload them. Use this workflow to capture a clean original, make a copy for the web, and check that the finished file meets the upload limit.
Start with the light
At the beach, light often matters more than the camera you bring. On a clear afternoon, sand and water reflect sunlight upward, while direct sun creates strong shadows under a person’s eyes. For softer portraits, shoot early or late, or find open shade from a building or beach shelter. Ask your subject to face the brighter part of the sky so their eyes are well lit. Take one frame and zoom in before you commit to a whole series. A small change in where someone stands can make a bigger difference than an editing preset.

Protect detail in the sky and water
A white wave or bright sky can lose texture if the camera exposes for a dark foreground. On a phone, tap the main subject and lower exposure a little if the highlights look flat. On a camera, check the highlight warning if you have it. Then look at the subject’s face as well. A sky with detail is useful only if the subject is still readable. When the difference is too strong, try turning to a different angle so the sun falls across the scene instead of shining straight into the lens.
Give the frame a clear subject
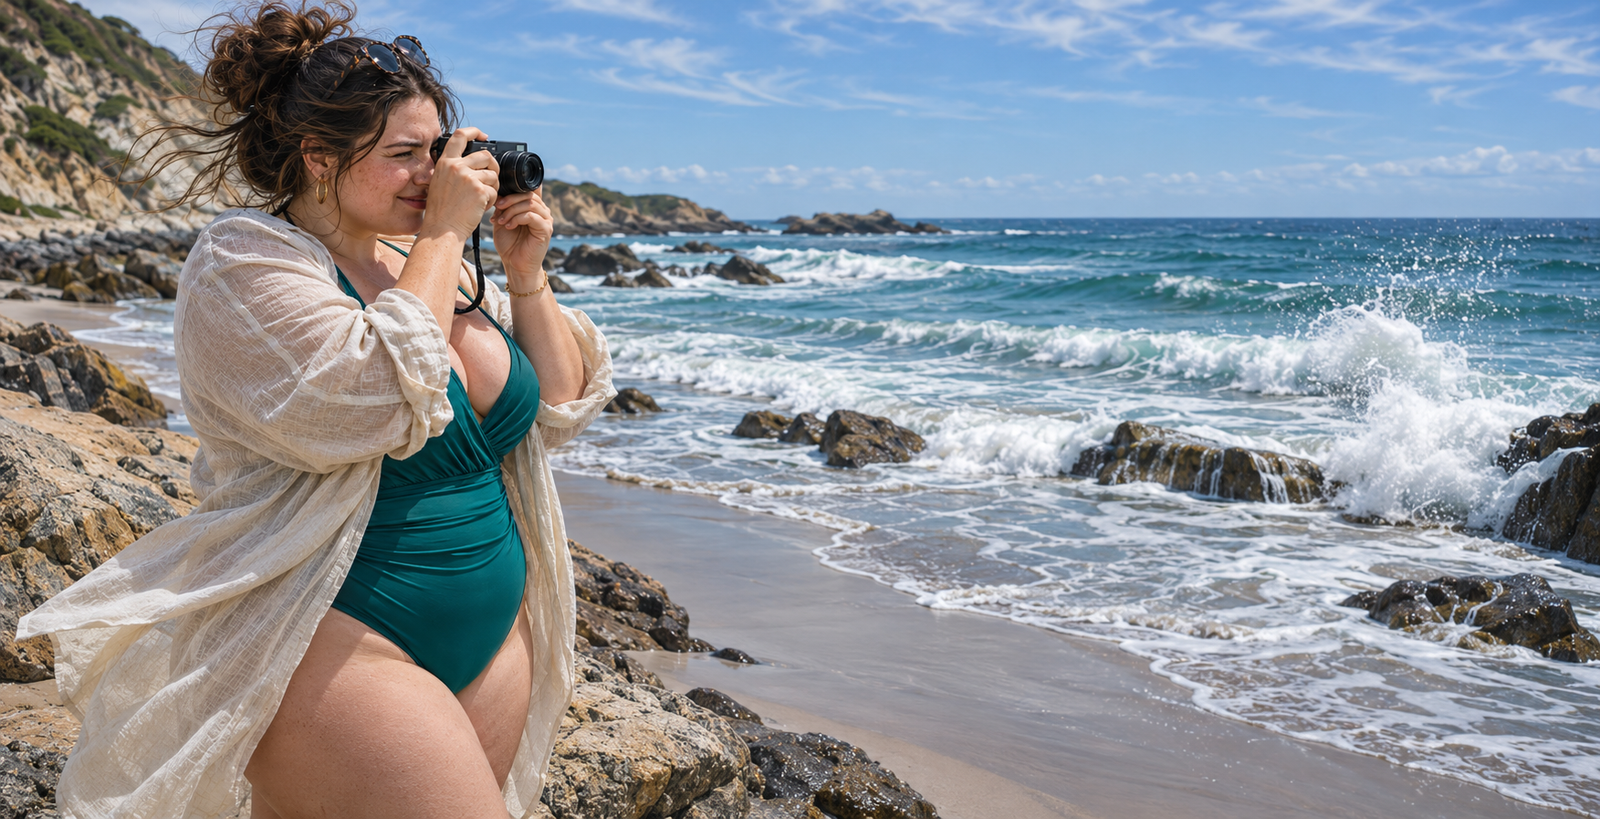
A beach scene can include waves, footprints, umbrellas, and a crowd, all competing for attention. Decide what the picture is about before you shoot. For a portrait, move until the background behind the face is simple. For a landscape, try framing the shoreline so it leads toward a rock or headland. Keep the horizon level unless you are tilting the frame on purpose. Leave a little extra room around the edges if you expect to crop for a square post later. An arm or hat clipped at the edge is difficult to recover.
Choose how the water should look
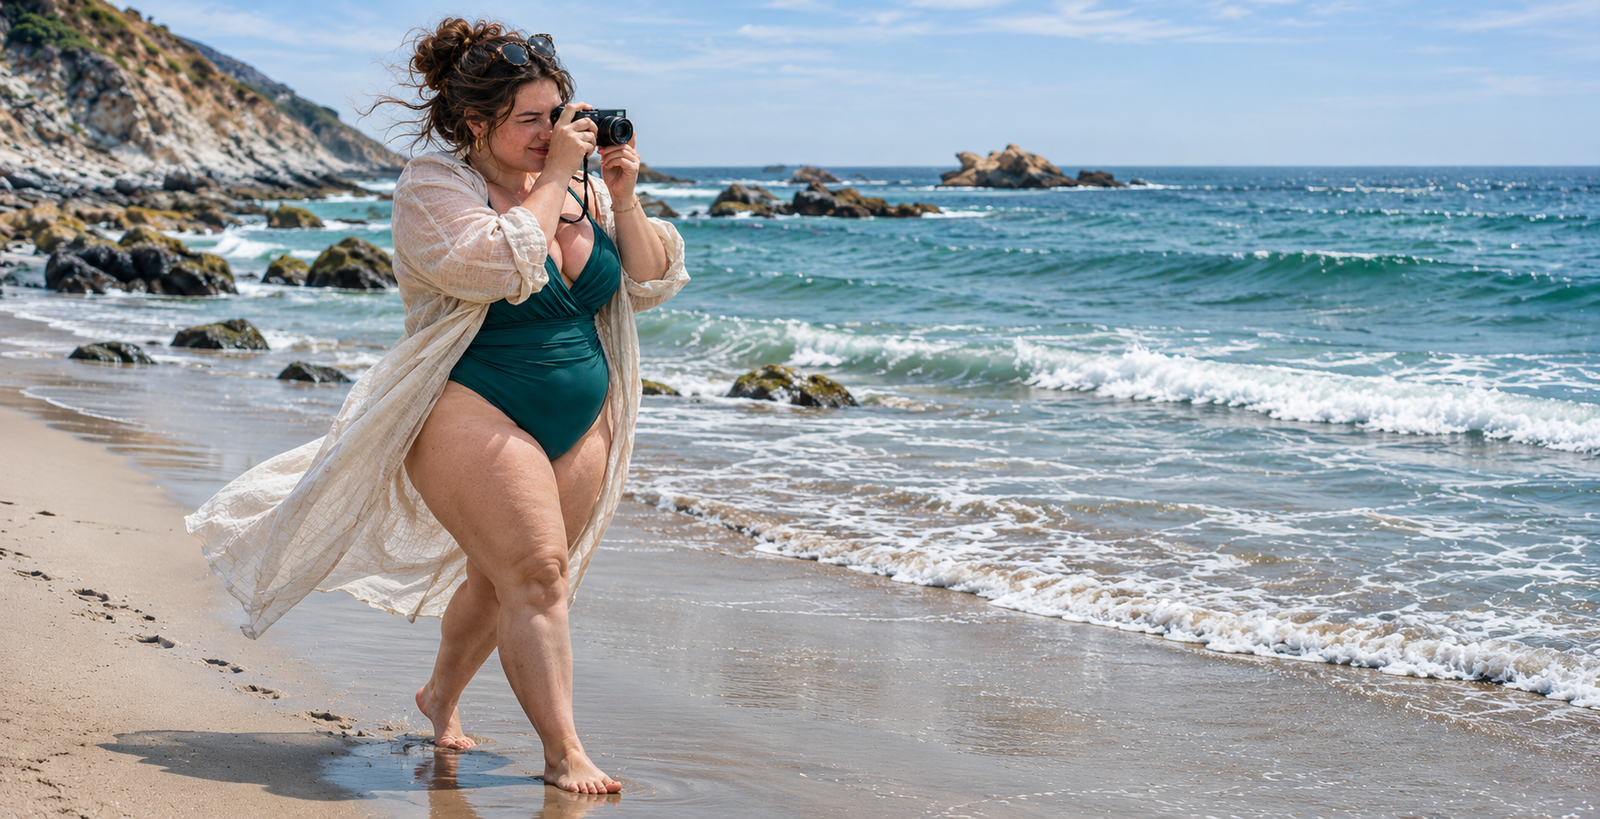
For crisp splashes, start with a fast shutter speed such as 1/1000 second in good light, then check the result. For a softer trace of water, try a slower shutter with a stable camera support, keeping it away from moving surf. On a phone, use burst mode if available when a wave is breaking. Start shooting just before the moment you want, then pick the frame with the cleanest shape. If you are photographing someone walking by the water, focus on them and leave space in the direction they are moving.

Edit the photo in a few passes
Straighten the horizon first, then crop for the place the image will appear. Next, adjust exposure and highlights until the brightest sand and clouds have texture. Bring up shadows only as much as you need to see the face or foreground. If the image looks too blue, warm it slightly and check skin tones before you adjust saturation. Compare the edited version with the original at the same size. Look for halos around the horizon, noisy shadows, and skin that has turned orange. Undo any adjustment that draws attention away from the subject.
Export a copy for the destination
Keep the original and export a new file. Use JPEG when the destination accepts it and you are uploading a normal photo. If a website lists a pixel width, resize a copy to that width before trying to reduce the file size. For a general web article, a 1,200-pixel-wide photo is a reasonable starting point, though the site layout may call for more or less. Use the site’s exact rules when an upload form provides them. Save the destination and size in the filename so you can tell the smaller version apart from the original.
Check the final upload
Open the exported JPEG and inspect it at the size readers will see. Look at facial features and the line where sky meets water, since heavy compression can leave blocks or visible bands there. Check the file’s actual size in your file manager before you upload it. If a form caps the image at 100 KB, use the compressor below and inspect the result again. It may reduce the pixel dimensions to hit the cap. If the form specifies both dimensions and file size, check both on the final copy before submitting.